How to Measure a Roof from Blueprints: A Comprehensive Guide
Are you in the process of constructing or repairing a roof for your home or building? One key aspect of any roofing project is accurately measuring the area to determine materials needed and costs. With blueprints and architectural drawings, measuring a roof can seem daunting at first glance. However, with the right tools and techniques, it can be done easily and efficiently. In this comprehensive guide on how to measure a roof from blueprints, we will walk you through step-by-step instructions, share tips for accuracy, point out common mistakes to avoid, and even touch on modern technology that can aid in measurements. Get ready to become an expert in measuring roofs from blueprints!
Understanding Blueprints and Architectural Drawings
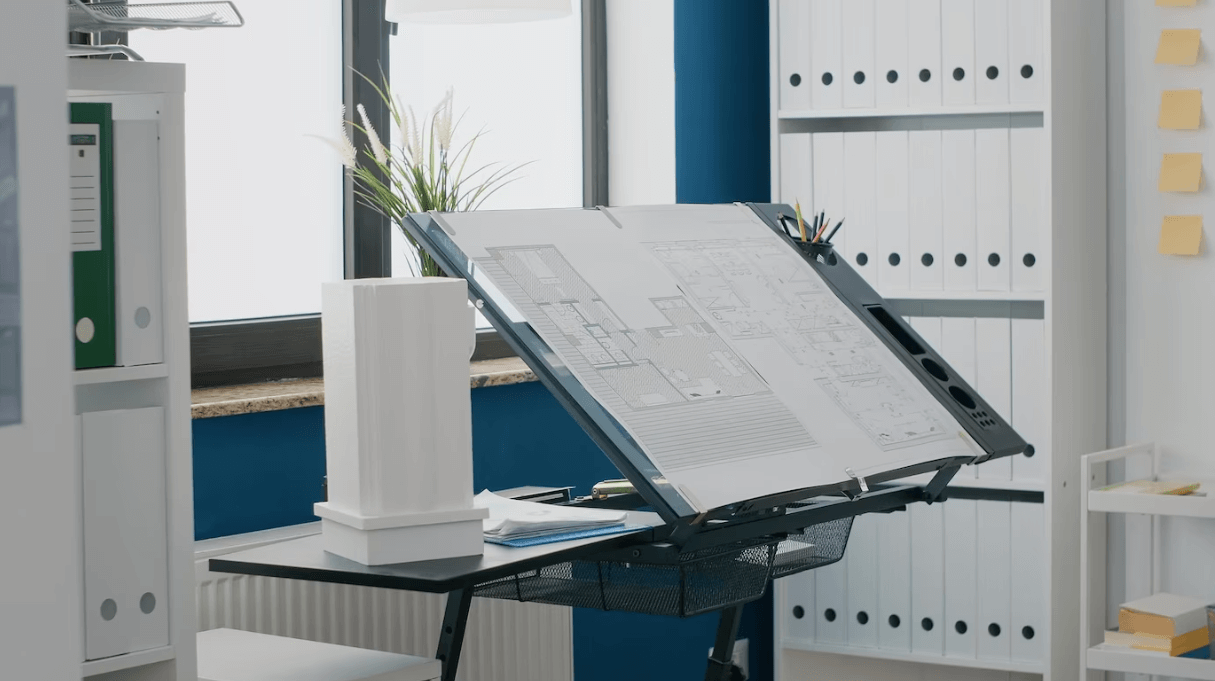
Blueprints and architectural drawings are essential tools for measuring a roof accurately. They provide detailed information about the building’s layout, structure, and design. It is important to understand these blueprints before attempting to measure a roof.
Architectural drawings typically include floor plans, elevation views, details of specific areas such as roofs or walls, and section cuts that show what’s inside the walls. These drawings may also contain notes about materials used in construction or other important details.
When it comes to measuring a roof from blueprints, it is crucial to identify the key components of the plan first. This includes locating where the roof plan is situated within the blueprint set and identifying any symbols or notations related specifically to roofing.
Next, understanding scale representation is vital in interpreting the measurements on blueprints correctly. Scale ratios vary depending on how big or small an area needs to be represented on paper versus real-life size.
Knowing how different parts of a building connect with each other through architectural drawings can help determine precisely where measurements begin and end when calculating roof dimensions.
All in all, understanding blueprints requires attention to detail and careful observation skills while applying logic-based thinking into practical applications when determining measurements needed for roofing projects.
Tools and Materials Needed for Measuring a Roof from Blueprints
To accurately measure a roof from blueprints, you will need certain tools and materials. First and foremost, you will need the blueprint or architectural drawing of the building. Make sure that it is clear and up-to-date to avoid any confusion during measurement.
You will also need measuring tools such as a tape measure, laser distance meter, or digital angle finder to take accurate measurements of dimensions and angles. A sturdy ladder may also come in handy if there are hard-to-reach areas on the roof.
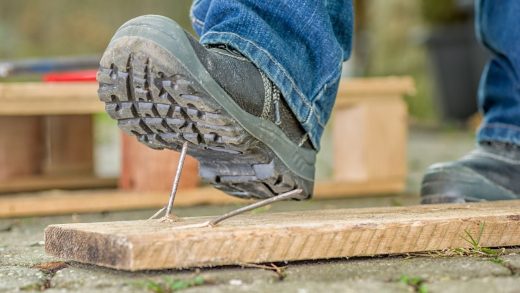
For safety purposes, wear appropriate personal protective equipment (PPE) when climbing ladders or accessing rooftops. This includes non-slip footwear, gloves, and safety glasses.
In addition to these essential tools and materials, having access to software or apps specifically designed for roofing calculations can significantly improve accuracy and speed in measuring roofs from blueprints.
Having the right set of tools at your disposal can make all the difference when it comes to accurately measuring a roof from blueprints.
Step-by-step Guide to Measuring a Roof from Blueprints
Measuring a roof from blueprints may seem daunting at first, but it can be done with ease and accuracy by following a step-by-step guide. To begin, locate the roof plan in the architectural drawings provided. This will typically be found on a separate page or as part of the floor plan.
Next, determine the scale that is being used for the blueprint. This information should also be included on the drawing itself or in accompanying notes. The scale will allow you to accurately measure dimensions of each section of the roof.
Using a measuring tape or ruler, measure each dimension listed on the blueprint including length and width. Be sure to record these measurements accurately and clearly.
Once all dimensions have been measured, calculate the total area of each section of the roof using basic geometry formulas such as multiplying length by width for rectangular sections.
It’s important to adjust for roof pitch when calculating the total area. The steeper a roof’s pitch is, the higher its actual surface area will be compared to its base measurement in square feet.
By following this step-by-step guide with precision and care, you’ll have accurate measurements for any roofing project based on blueprints alone!
Step 1: Locate the Roof Plan
Locating the roof plan is the first step in measuring a roof from blueprints. This may seem obvious, but it’s crucial to make sure you have the correct document before proceeding.
The roof plan will typically be included with other architectural drawings and can usually be found on one of the lower floors rather than in an elevation or section drawing. It will show a bird’s-eye view of the entire roof layout, including all ridges, valleys, hips, and eaves.
It’s important to note that not all blueprints will include a separate roof plan. In some cases, the relevant information may be included on another drawing such as an elevation or section.
Once you’ve located the right document for your roof plan, take time to familiarize yourself with it before moving onto measuring dimensions and calculations. Make sure you understand any symbols or abbreviations used so there are no mistakes when interpreting measurements later on.
Remember: locating and understanding your blueprint is key to ensuring accurate measurements and avoiding errors down the line!
Step 2: Determine the Scale
After locating the roof plan, the next step in measuring a roof from blueprints is to determine the scale. The scale represents how much smaller or larger the blueprint is compared to the actual size of the building.
To determine the scale, check for any notes on the blueprint regarding its proportionality. If no note is present, look for reference measurements such as doorways or windows and compare them to their actual sizes. Another option is to use a ruler or tape measure to calculate distances on both the blueprint and physical structure.
It’s important to accurately determine the scale since it affects all subsequent measurements of length and area. A small error at this stage can result in significant discrepancies when calculating other dimensions later on.
If working with digital blueprints, many software programs allow users to adjust and set scales automatically based on known reference points. However, manual calculations may still be necessary if reference points are unclear or absent.
Determining an accurate scale is crucial in measuring a roof from blueprints properly.
Step 3: Measure the Dimensions
Now that you have located and determined the scale of your roof plan, it’s time to measure the dimensions. This step involves measuring all sides of your roof, including length, width, and height.
Using a ruler or a measuring tape, start by measuring the horizontal distance between two points on your roof plan. Make sure to note down all measurements in feet or meters depending on which units are used in the blueprint.
Next, measure the vertical distances from each point to determine any changes in height due to slopes or dormers. Be sure to record these measurements as well.
It is important to be precise when taking measurements from blueprints since small errors can lead to significant discrepancies later on during construction.
If there are any irregular shapes or areas that cannot be measured directly from the blueprint, consider using software programs that allow for digital measurement tools such as area calculators and angle finders.
By accurately measuring all dimensions of your roof plan, you will be able to calculate its total surface area and ensure an accurate estimate for materials needed during construction.
Step 4: Calculate the Roof Area
Once you have measured the dimensions of all roof sections, it’s time to move on to calculating the total roof area. This step is crucial as it will determine how much material is needed for roofing and help estimate costs accurately.
To calculate the roof area, simply multiply the length by the width of each section and add them together. If there are any protrusions or dormers on your roof, measure their dimensions separately and add them to your overall calculation.
It’s important to take into consideration that roofs are not always perfectly rectangular or square-shaped. Therefore, you may need to break down some areas into smaller shapes such as triangles or trapezoids before adding up their individual areas.
If you’re having trouble with this step, don’t hesitate to seek professional help from a roofing contractor who can guide you through the process more efficiently.
Step 5: Adjust for Roof Pitch
The roof pitch is an essential factor to consider when measuring a roof from blueprints. The pitch or slope of the roof affects both its appearance and functionality.
To measure the roof pitch, you can use a tool called a roofing square or speed square. This tool helps you determine the angle of the roof by aligning it with the edge of the rafter board.
Once you’ve determined your roof’s pitch, you will need to adjust your measurements accordingly. You’ll do this by multiplying your total area measurement by a conversion factor based on your specific roofing material and slope.
For example, if you have an asphalt shingle roofing system with a slope greater than four inches per foot (4:12), then you would multiply your total area measurement by 1.15 to account for waste that comes with cutting shingles around corners.
On the other hand, if your metal roofing system has a lower slope than three inches per foot (3:12), then it’s recommended that you add about 20% more material to account for potential leakage due to water pooling on low-sloped roofs.
Adjusting for pitch may seem like an extra step in measuring a roof from blueprints, but doing so ensures accurate estimates that take into account all aspects of the building design and materials used.
Tips for Accurate Roof Measurement from Blueprints
Accurate roof measurement from blueprints is crucial for any construction project. Here are some tips to ensure you get it right:
- When measuring a roof, make sure that the scale of the blueprint is accurate by checking it against a known dimension on the drawing or plan.
- To obtain accurate measurements, always use a ruler or tape measure that has been calibrated and marked in inches or centimeters.
- It’s important to measure every part of the roof accurately. Pay special attention to corners and edges where different sections meet, as these areas tend to be more complicated than other parts of the roof.
- If there are any unusual features such as dormers, skylights, chimneys, or vent pipes on your blueprint, take note of their dimensions separately as they can affect overall measurements.
- Always double-check your calculations before proceeding with further analysis. This includes calculating pitch and area using software tools or apps specifically designed for roofing projects.
- Don’t hesitate to ask for help if you’re unsure about anything. Roof measurement can be tricky at times, so don’t be afraid to seek advice from professionals who have experience in this field.
Common Mistakes to Avoid When Measuring a Roof from Blueprints
Measuring a roof from blueprints can be a daunting task, especially if you’re not familiar with reading architectural drawings. However, even experienced professionals can make mistakes when measuring roofs from blueprints. Here are some common mistakes to avoid:
- One of the most common mistakes is not understanding the scale of the blueprint. If you don’t pay attention to the scale, your measurements will be inaccurate and may lead to costly errors in your roofing project.
- Another mistake is failing to measure all dimensions accurately. Even small errors in measurements can have significant effects on your calculations and ultimately lead to incorrect estimates.
- It’s also important not to forget about roof features such as chimneys or skylights that may affect your measurement results. Neglecting these features or measuring them incorrectly could result in an insufficient amount of materials purchased for installation.
- Failing to adjust for roof pitch is another common mistake made during the process of measuring a roof from blueprints. Roof pitch affects how much material you’ll need for installation, and it’s crucial that this factor is taken into consideration.
- Relying solely on manual calculations without using technology like software or apps which help increase accuracy could result in miscalculations leading to expensive errors during construction.
Paying close attention while taking accurate measurements using appropriate tools and technology will ensure that there are no major surprises during roofing projects due to inadequate planning based on inaccuracies while measuring a roof from blueprints.
How to Apply Roof Measurements in Real-Life Scenarios
Measuring a roof from blueprints is an essential step in any construction project. However, knowing how to apply these measurements in real-life scenarios can be just as crucial. One of the most common applications of these measurements is determining the amount of roofing material needed for a job.
To calculate this, you will need to know the surface area of the roof. Once you have measured and calculated this figure from the blueprints, you can then determine how many shingles or tiles are required for proper coverage.
Another practical application for roof measurements is calculating costs. By understanding your measurement calculations, it’s possible to estimate materials and labor expenses accurately. This helps ensure that jobs come in on budget while also helping contractors quote prices correctly.
Accurate roof measurement from blueprints can help with insurance claims. In cases where roofs have been damaged by storms or other events, precise calculations based on blueprint dimensions provide critical information needed by insurance adjusters.
Understanding how to apply roof measurements in real-life scenarios ensures that projects go smoothly and efficiently while also meeting necessary specifications for coverage and safety requirements alike.
The Role of Technology in Roof Measurements: Software and Apps
As technology continues to evolve, more and more tools are becoming available for roof measurement. One of the most notable examples is software and apps that can accurately measure roofs from blueprints.
Using these tools, professionals can quickly and efficiently measure a roof’s dimensions, pitch, and area. This saves time compared to manual calculations that could take hours or days to complete.
Some of these software programs also allow users to generate 3D models of the roof or create detailed reports with all the necessary measurements. This makes it easier for architects, builders, engineers, and other stakeholders in the construction process to share information about the project.
One popular example of this type of software is RoofSnap. It uses satellite imagery combined with augmented reality technology to provide accurate measurements without even needing access to the physical site.
Other apps such as Hover Precision allow users to take photos from their smartphone or tablet devices, which then use advanced algorithms for accurate measurements, giving estimators instant data on demand, making their work faster than ever before.
The role of technology in measuring roofs has revolutionized how we approach construction projects today. With so many useful tools at our disposal, now more than ever, businesses will be able to save valuable time while delivering high-quality results.
Conclusion
Measuring a roof from blueprints may seem daunting at first, but with the right tools and understanding of the process, it can be done accurately.
By following the step-by-step guide provided in this article and avoiding common mistakes, you can confidently measure any roof from architectural drawings.
It’s important to keep in mind that accurate measurements are crucial for roofing projects. Incorrect measurements can lead to wasted materials, added expenses, or even safety hazards. Therefore, taking the time to understand how to measure a roof properly will save both time and money in real-life scenarios.
Additionally, technology has made measuring roofs more efficient than ever before through software and apps designed for roofing professionals. However, it’s still essential to have a basic understanding of how to manually measure a roof from blueprints as these skills are fundamental for anyone working in roofing.
We hope this comprehensive guide on how to measure a roof from blueprints has been helpful. With practice and patience, you’ll be able to accurately determine the dimensions of any roof plan you encounter!