Creating Measurement Reports for Complex Roofs
Have you ever wondered how roofers measure complex roofs? With so many components and angles to consider, creating an accurate measurement report can be a daunting task. But fear not! In this article, we’ll explore the importance of creating precise measurements for complex roofs and provide you with a step-by-step guide on how to do it. Whether you’re a contractor looking to streamline your workflow or a homeowner planning renovations, understanding the basics of roof measurement will help ensure success in your project. So let’s get started!
Importance of Accurate Roof Measurement Reports
Accurate roof measurement reports are crucial for any roofing project, regardless of the complexity. The measurements taken during a roof inspection provide vital information that is used in budgeting and estimation, planning and scheduling, as well as quality assurance.
Without accurate measurements, it’s difficult to know exactly how much material will be needed for the project or how long it will take to complete. This can lead to inaccurate cost estimates which may result in unexpected expenses later on in the project.
In addition, an incorrect measurement report can also result in improper installation of materials leading to poor workmanship that could eventually cause leaks and other issues with the roof.
Furthermore, having comprehensive measurement reports helps ensure compliance with building codes and regulations. By providing detailed information about the dimensions of various components such as ridges or valleys, contractors can avoid non-compliance issues that could result in costly fines or even legal action.
Investing time and resources into producing accurate roof measurement reports is essential for ensuring successful projects while minimizing risks associated with miscalculations.
Quality Assurance
Quality assurance is an essential aspect of any roofing project. It ensures that the roof measurement report accurately reflects the dimensions and complexities of a roof, which leads to accurate budgeting and estimation.
The quality assurance process involves double-checking all measurements and calculations to ensure accuracy. This includes verifying measurements using both traditional tools like measuring tapes and digital tools like satellite imagery.
Additionally, quality assurance involves ensuring that the measurement report is comprehensive, including all necessary details such as material types, pitch angles, and drainage systems. This helps prevent errors during installation, reducing costly mistakes down the line.
Investing time in quality assurance upfront can save time and money in the long run by preventing rework or miscommunications between contractors about what materials are needed for a project.
Budgeting and Estimation
Budgeting and estimation are crucial aspects of any roofing project, especially when dealing with complex roofs. Proper budgeting helps ensure that the available resources are allocated efficiently to complete the project within a reasonable time frame. It also prevents overspending on unnecessary items or services.
Before creating a measurement report for a complex roof, it’s important to have an accurate estimate of the costs involved in the entire process. This includes labor, materials, permits, and other expenses that may arise during construction.
A detailed cost estimate is invaluable when planning for a roofing project since it enables stakeholders to make informed decisions about which contractors to hire or what materials to use. It also helps avoid unexpected surprises during construction that could delay completion times or cause cost overruns.
To create an accurate budget and cost estimate for a complex roof project requires careful consideration of all factors involved in its construction. This includes identifying potential risks such as weather conditions that might impact progress or unforeseen changes in building codes.
Proper budgeting and estimation can help ensure that your roofing projects run smoothly without any financial hiccups along the way. By taking into account all relevant factors before finalizing your estimates, you’ll be able to identify potential problems and mitigate them before they become major issues later on down the line.
Planning and Scheduling
When it comes to measuring a complex roof, planning and scheduling are critical components. Before starting the measurement process, it’s essential to allocate enough time for the job. Depending on the complexity of the roof design and size, this may take several hours or even days.
The next step is to create a detailed plan that includes all necessary information such as measurements needed, materials required, tools to be used, and any safety precautions that need to be taken.
Scheduling should also involve coordination with other parties involved in roofing projects such as contractors or architects. It’s important to ensure everyone is on board with the timeline so that work can proceed smoothly without any delays.
Another crucial aspect of planning and scheduling is identifying potential challenges beforehand and finding ways to address them proactively. For example, if there are obstacles like trees or power lines near the roof being measured, they must be removed before beginning work.
Proper planning and scheduling are key factors when measuring complex roofs. Taking adequate time beforehand will help avoid costly mistakes later on in the project while ensuring everything runs efficiently from start-to-finish.
Basics of Roof Measurement
When it comes to measuring a roof, accuracy is everything. Before diving into the process of creating a detailed measurement report for complex roofs, it’s important to understand the basics of roof measurement.
Firstly, every roof has certain components that make up its structure. These components include the decking or sheathing layer, underlayment, and shingles or other roofing materials. It’s essential to know how each component fits together in order to accurately measure the overall size and shape of the roof.
Next, units and measurements are crucial when measuring a roof. The most common unit used in roofing is square footage – which measures area – but linear feet may also be used for gutters and edges. It’s also important to understand basic geometric shapes such as rectangles and triangles as they form much of the basis for measuring many roofs.
There are both traditional tools (such as tape measures) and digital tools (such as 3D imaging software) that can be used when measuring complex roofs. Knowing how to use these tools properly can greatly improve accuracy while minimizing mistakes during measurement.
Understanding these basics sets you up for success when tackling more complicated measurements later on in your project planning process!
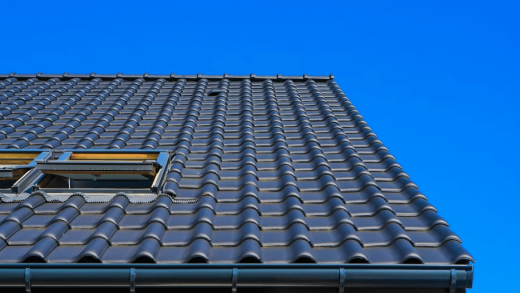
Components of a Roof
A roof is a complex structure that serves as the first line of defense against the elements. It is made up of several components, each playing a critical role in keeping your home safe and secure.
Firstly, there’s the decking or sheathing, which acts as the base for all other roofing materials. It’s typically made of plywood or OSB and is attached to rafters or trusses.
Next are the underlayment and ice/water shield, which provide an extra layer of protection against moisture infiltration. The underlayment is usually made of felt paper or synthetic material and goes over the decking before shingles are installed. The ice/water shield goes over vulnerable areas like eaves, valleys, and around chimneys to prevent water damage from ice dams.
Shingles (or other roofing materials) are then installed on top of the underlayment to provide weather resistance. Flashing is also added around roof penetrations like chimneys, skylights, vents, etc., to ensure they don’t leak.
There’s ventilation – this ensures proper airflow through your attic space so that moisture doesn’t build up and cause issues like mold growth or rotting wood.
These components work together seamlessly when properly installed by professional roofing contractors ensuring longevity for your home’s protection.
Units and Measurements
When it comes to measuring a complex roof, understanding the different units and measurements is crucial. The most common unit of measurement used in roofing is square footage, which refers to the amount of material needed to cover one square foot of roof area.
In addition to square footage, other important measurements include pitch, slope, and rise. Pitch refers to the angle or steepness of a roof while slope measures the ratio between its vertical height and horizontal length. Meanwhile, rise determines how much higher one end of a roof is compared to another.
It’s also important to understand that different materials have different requirements when it comes to measurements. For example, metal roofs require more precise measurements due to their custom sizing while asphalt shingles are easier since they come in standard sizes.
Having a strong grasp on units and measurements will help ensure accurate reports for complex roofs.
Tools for Measuring Complex Roofs
When it comes to measuring complex roofs, having the right tools is essential. Traditional tools like tape measures and chalk lines may work for simple roof designs, but they are not efficient when it comes to complicated roof structures. Here we will explore some of the best tools for measuring complex roofs.
One of the most popular digital tools used in roofing measurement is aerial imaging technology. With drones and satellite imagery, professionals can get a 3D model of the roof without ever stepping foot on it. These images provide accurate measurements that help to create detailed reports and precise estimates.
Another tool frequently used in roofing measurement is laser distance meters or rangefinders. They use laser beams to calculate distances between two points with pinpoint accuracy making them perfect for measuring hard-to-reach areas such as ridges or valleys.
For those who prefer traditional methods, there are still reliable options available too. One example would be inclinometers which measure angles accurately helping you determine pitch values needed for your report.
In summary, choosing the right tool for measuring complex roofs depends on what type of information you need and how much detail you require from your measurements. By selecting an appropriate combination of these modern technologies and traditional devices like inclinometers or even just using good old-fashioned math skills – anyone can generate high-quality reports that will deliver results!
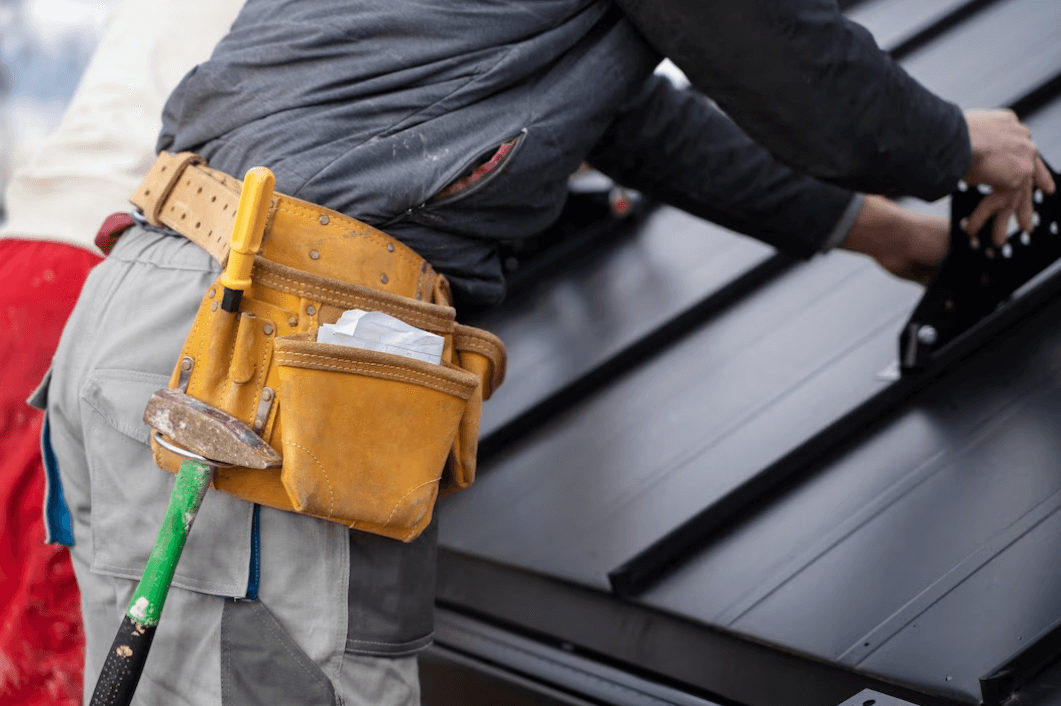
Traditional Tools and Techniques
Traditional tools and techniques for measuring complex roofs have been used for decades, and they rely on manual measurements taken by trained professionals. One of the most commonly used traditional tools is the tape measure, which can provide accurate measurements but requires a lot of time and effort.
Roofers also use pitch gauges to determine the slope or angle of a roof. These devices are simple to use, but they require a roofer to climb onto the rooftop. Measuring tapes are another tool that is frequently employed when measuring roof dimensions.
Other common traditional methods include using ladders or scaffolding systems to gain access to all areas of a building’s roofline while taking physical measurements with handheld instruments like plumb bobs or spirit levels.
While these methods may be effective in obtaining precise data about roof sizes and shapes, they have some limitations. For example, it can be challenging for one person alone to take accurate measurements accurately without errors while dealing with irregularly shaped roofs or unusual angles.
Despite its limitations compared with digital tools mentioned later in this article, Traditional roofing measurement techniques still play an important role in evaluating complex roofs’ condition and performance by experienced professionals who know how best to make use them.
Digital Tools and Software
Digital tools and software have revolutionized the way contractors measure roofs. These advanced technologies allow for more accurate measurements, speedier data collection, and increased efficiency.
One such tool is drones equipped with high-resolution cameras that can capture detailed images of a roof’s surface from various angles. This enables contractors to gather accurate information about its layout and dimensions without having to climb up on the roof itself.
Another digital tool gaining popularity in recent years is 3D modeling software. Contractors can input measurements gathered through other digital tools into these programs to create precise models of a complex roof’s structure. This provides a visual representation that helps with planning, estimation, and quality assurance in roofing projects.
Additionally, cloud-based platforms like GoMeasure provide sophisticated measurement solutions that enable users to estimate project costs accurately while automating many time-consuming tasks associated with manual measuring techniques.
These innovative digital tools are changing the game for roofing professionals by saving them time and increasing accuracy while providing better cost estimates to clients.
Step-by-Step Guide: Measuring Complex Roofs
Measuring complex roofs requires a systematic approach to ensure accurate results. Here’s a step-by-step guide on how to measure complex roofs:
- Prepare the necessary tools and equipment, including measuring tapes, laser range finders, drones (if needed), and safety gear.
- Start by identifying all roof components, such as ridges, valleys, hips, and dormers.
- Measure the width of each section of the roof using a tape measure or laser range finder.
- Determine the pitch of the roof by measuring its rise over run ratio or use digital pitch finders for more precise measurements.
- Calculate the area of each section by multiplying its length by width.
- Take note of any obstacles on or around the roof that may affect installation or repairs like chimneys and vents.
- Record all measurements in an organized manner digitally or manually if preferred.
- Double-check your calculations before finalizing your measurement report to ensure accuracy.
By following this step-by-step guide when measuring complex roofs, you will be able to provide accurate measurement reports essential for repair estimates and installation planning purposes.
Formulating a Comprehensive Measurement Report
Formulating a comprehensive measurement report is an essential part of the roof measurement process. It provides detailed information about the dimensions, areas, and slopes of all roofing components to ensure accurate estimates and proper planning for any roofing project.
When creating a measurement report, it’s crucial to include all relevant measurements with clear descriptions and symbols that are easy to understand. This helps prevent misunderstandings or mistakes during the construction phase.
A good measurement report should also include an overview of all materials required for the roofing project, including their quantities and estimated costs. This ensures that there are no surprises in terms of expenses when it comes time to purchase materials.
Additionally, photographs can be added to provide visual documentation of any unique features or challenges on the roof that may impact pricing or installation processes.
It’s important to review your final report for accuracy before submitting it as errors can result in inaccurate estimates which can cause delays in projects or increased costs down the line.
Best Practices for Measuring Complex Roofs
When it comes to measuring complex roofs, there are several best practices that can help ensure accurate and reliable measurements. One of the most important things is to have a clear understanding of the roof’s design and layout beforehand. This will allow you to determine which tools and techniques will be required for the job.
Another best practice is to take multiple measurements from different angles and positions. This helps eliminate any errors or discrepancies in your measurements, resulting in a more precise report.
It’s also important to use high-quality tools that are specifically designed for measuring complex roofs. These could include traditional tools such as tape measures, rulers, and protractors, as well as digital tools like laser measurement devices or 3D modeling software.
Before submitting your final measurement report, make sure to thoroughly review all data points collected during the process. Double-checking your calculations and verifying all measurements ensures accuracy while also saving time down the road by avoiding costly mistakes or rework.
Communicate clearly with clients throughout the entire measurement process so they understand what work was done on their property. Providing detailed explanations of each step taken along with progress reports can help build trust between you and your customer while reducing misunderstandings about project scope or timelines.
Conclusion
Creating accurate measurement reports for complex roofs is crucial to the success of any roofing project.
By using the right tools and techniques, such as digital software, contractors can ensure that their measurements are precise and detailed. A comprehensive measurement report should include all necessary components of the roof and provide clear units of measurement.
Quality assurance is also essential in ensuring that the final product meets both industry standards and customer expectations. By utilizing best practices when measuring complex roofs, contractors can improve budgeting and estimation accuracy, plan for scheduling conflicts, and ultimately deliver a high-quality finished product.
Taking the time to create well-documented roof measurement reports will not only make your job easier but also help you build trust with customers by providing transparency throughout every step of their roofing project.